
DIY Garden Projects: Using Bark Chips for Paths and Edging on a Budget

As we head into the festive season, it’s worth bearing in mind that the weeks after Christmas are when many of us take stock of our gardens and our bank balances. It’s a time for practical DIY jobs rather than big spending, which makes bark chips a smart choice for creating paths and edges without stretching your budget. They’re affordable, simple to work with, and give you a tidy, natural finish while still being tough enough to handle winter weather.
At Bark UK Online, we supply quality bark chips from our family-run base in Bedfordshire, and we’ve helped thousands of gardeners use bark to tidy up outdoor spaces in cost-effective ways. If you want to refresh your garden paths or frame your borders neatly going into the new year, our team can guide you through every step.
Why Bark Chips Work So Well for DIY Paths
Bark chips are a reliable option for garden paths because they’re lightweight, easy to shift around, and simple to lay even if you’re not used to DIY projects. The smaller 70-litre bags are easy to carry, so you can position them exactly where you need them without wrestling heavy loads.
A few reasons people choose bark chips for paths:
They’re kind on the budget
Compared with paving slabs or gravel, bark chips are much more price-conscious. You can cover a decent stretch of ground without draining your January savings.
They’re soft underfoot
Great for walking areas that kids, pets, or older family members use frequently. No sharp stones. No hard edging. Just a steady, cushioned surface.
They’re hardworking through all seasons
Bark suppresses weeds, holds moisture in the soil during dry spells, and protects roots when it gets extremely cold. As the chips gently break down, they enrich the soil underneath — so they’re not just a surface, they’re a quiet worker beneath it too.
How to Create a Bark Chip Path on a Budget
Step 1. Mark your path shape
Use twine, a hosepipe, or even a stick and string. Curves, straight lines, narrow sections… Bark works with all shapes.
Step 2. Clear the ground
You don’t need to strip everything back. Just remove anything large enough to poke through the bark layer. A quick rake is usually enough.
Step 3. Lay a membrane (optional but helpful)
A breathable membrane stops weeds from pushing through and keeps the bark looking tidy for longer. If you are watching your spending closely, a membrane is useful but not mandatory.
Step 4. Spread your bark chips
Aim for around 5–7cm depth so the surface stays even and comfortable to walk on. Top it up once or twice a year, which is easy thanks to the lightweight bags.
Using Bark Chips for Easy, Attractive Edging
Edging can transform a border. It makes beds look tidier and stops soil spilling onto lawns or paths. Bark chips give you a natural, warm finish without the cost of wooden boards or metal edging strips.
Benefits of bark chip edging
-
Helps divide lawn from beds, reducing mess.
-
Creates neat lines around planters, trees, and shrubs.
-
Easy to refresh. Just add a thin layer on top as the chips settle.
-
Works well for rental tenants who want a smart garden but prefer not to install anything permanent.
Simple steps for DIY bark edging
Step 1: Cut a clean edge
Use a half-moon edger or spade. A crisp line makes the bark sit better.
Step 2: Fill the trench with bark chips
Not too deep. Just enough to give a clear contrast between bed and lawn.
Step 3: Maintain once or twice a year
A quick top-up keeps everything neat and prevents the soil underneath from drying out.
More DIY Ideas for January and February
Here are a few practical projects people often tackle at this time of year:
Create a small bark path to your shed
A short, simple walkway stops you walking through wet grass every morning.
Use bark chips around container clusters
This gives pots a tidy base and stops weeds creeping in.
Line the edges of children’s play areas
Bark makes surfaces softer and safer while keeping mud to a minimum.
Refresh tired borders
Even one 70-litre bag can bring a dull area back to life.
FAQ: Bark Chips for DIY Paths and Edging
How long do bark chip paths last?
A well-laid bark path usually lasts a year before needing a quick top-up. Heavier-use areas may need refreshing slightly sooner.
Do bark chips help with weeds?
Yes. Bark chips suppress weeds well, and adding a membrane underneath gives you even more protection.
Are bark chips safe for pets and children?
They’re soft, natural and kind underfoot, which makes them popular for family gardens. As with any natural product, check the area occasionally and rake it to keep the surface even.
Can I use bark chips in winter?
Absolutely. They’re fine to lay in colder months as long as the ground isn’t frozen.
Why Choose Bark UK Online?
We’re a family-run business in Bedfordshire with years of experience supplying quality bark and wood chip products. Our team gives honest guidance, quick responses, and friendly support whether you’re ordering one bag or a pallet.
We source bark that’s suitable for borders, paths, play spaces, beds and more. As it breaks down, it improves soil structure, moisture levels, and the overall health of your plants. We work hard to remove foreign matter, though a tiny amount may appear here and there because bark is a natural product.
If you plan to tackle DIY projects to tidy up your garden in the new year, we’re here to help you get great results without breaking the bank.
Ready to Start? Get in Touch
If you’re planning a path, edging, or small DIY makeover this winter, we’ll help you get the right amount and the right product for your garden.
You can order bark chips directly from our online shop, with quick delivery and guidance from a team that knows their products inside out.


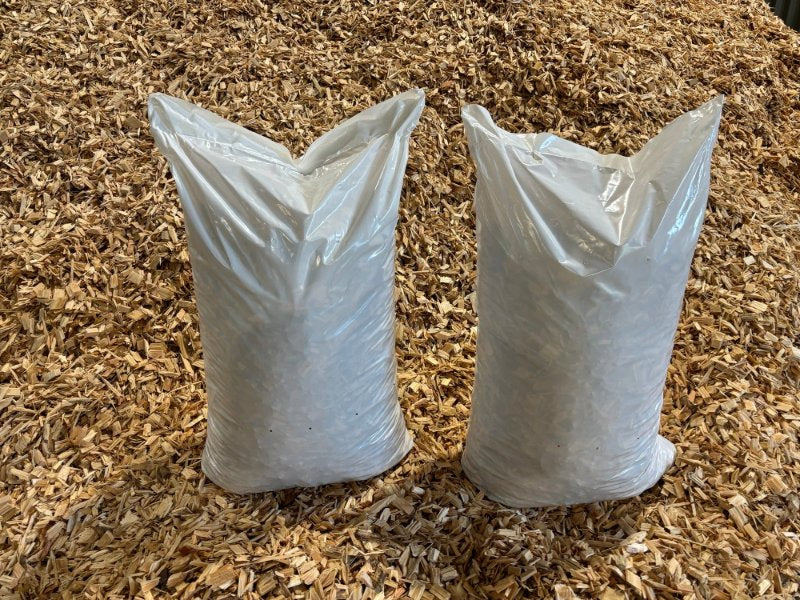
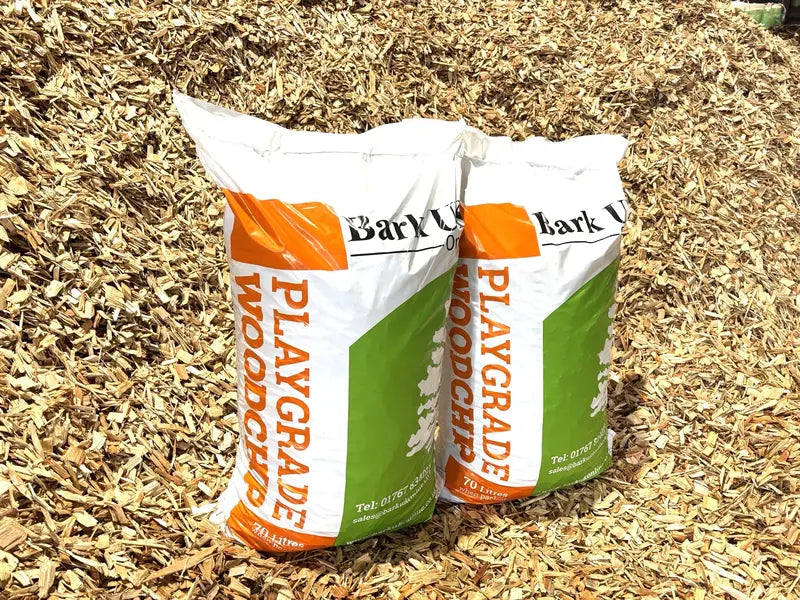
Supplied in easy to handle 70L bags
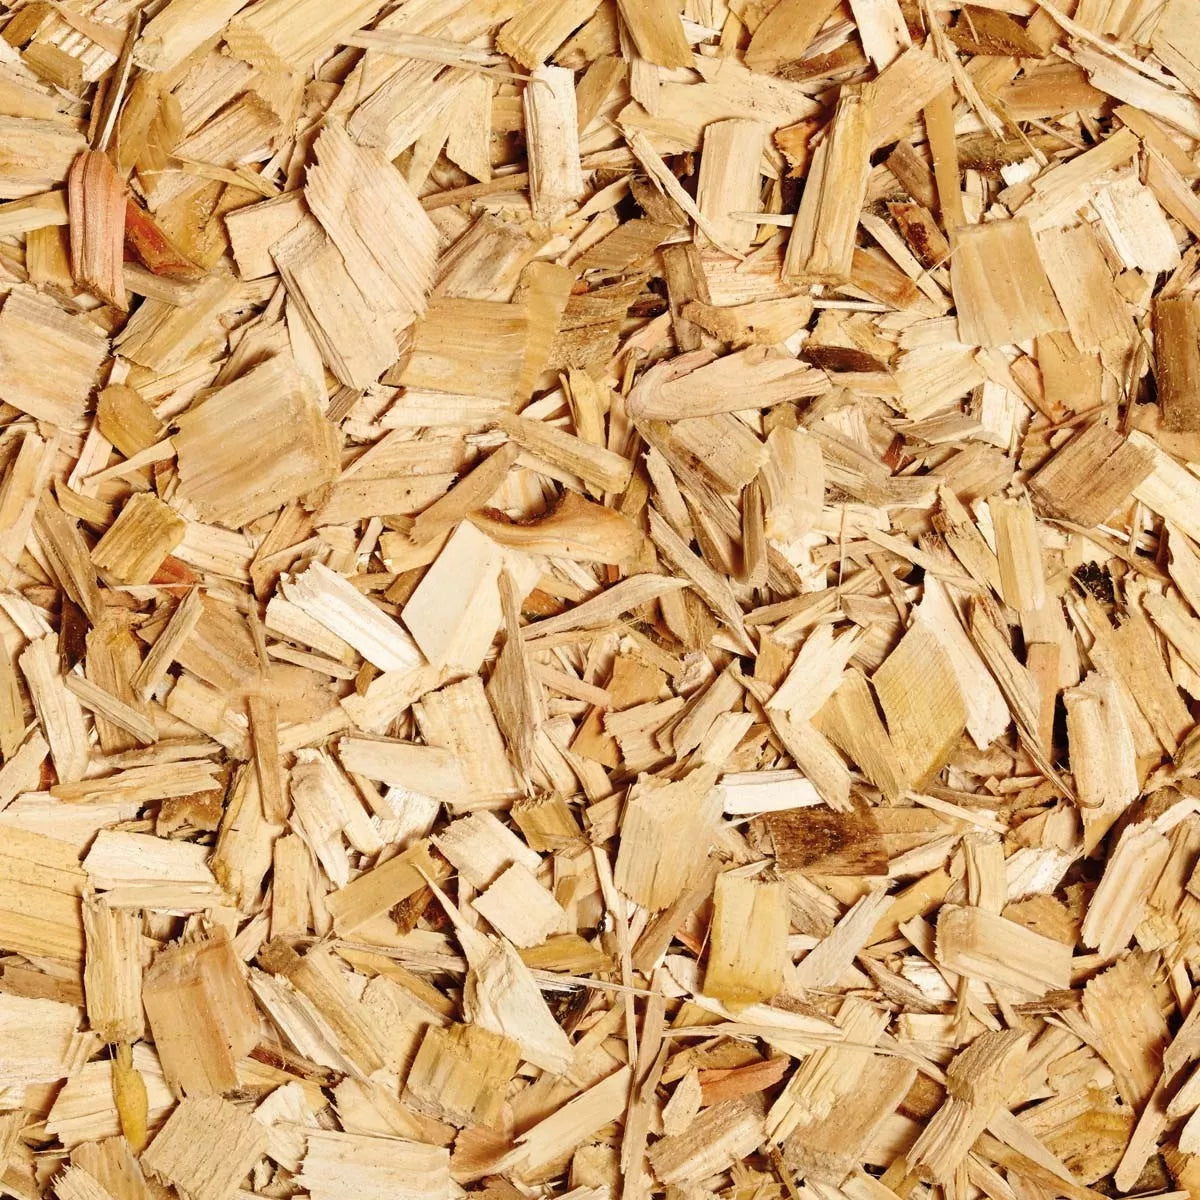
Minimum 80% Hard wood ...

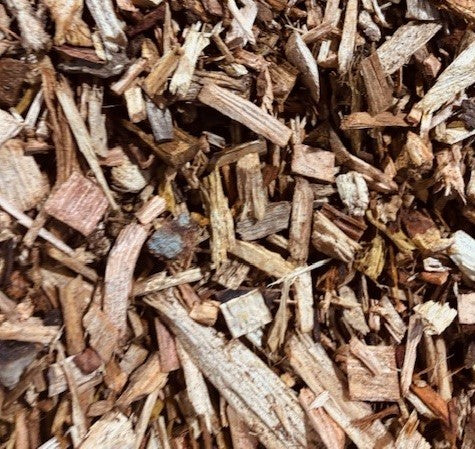
Minimum 80% Hard wood chips comprises of Ash, Beech, Birch, Oak, ...
Minimum 80% Hard wood chips comprises of Ash, Beech, Birch, Oak, ...
Softwood chips are supplied in easy to manage 70 litre
Softwood c...

Softwood chips are supplied in large Approx.1000 litre bulk bags
Softwood chips are supplied in large Approx. 2000 litre bulk bags
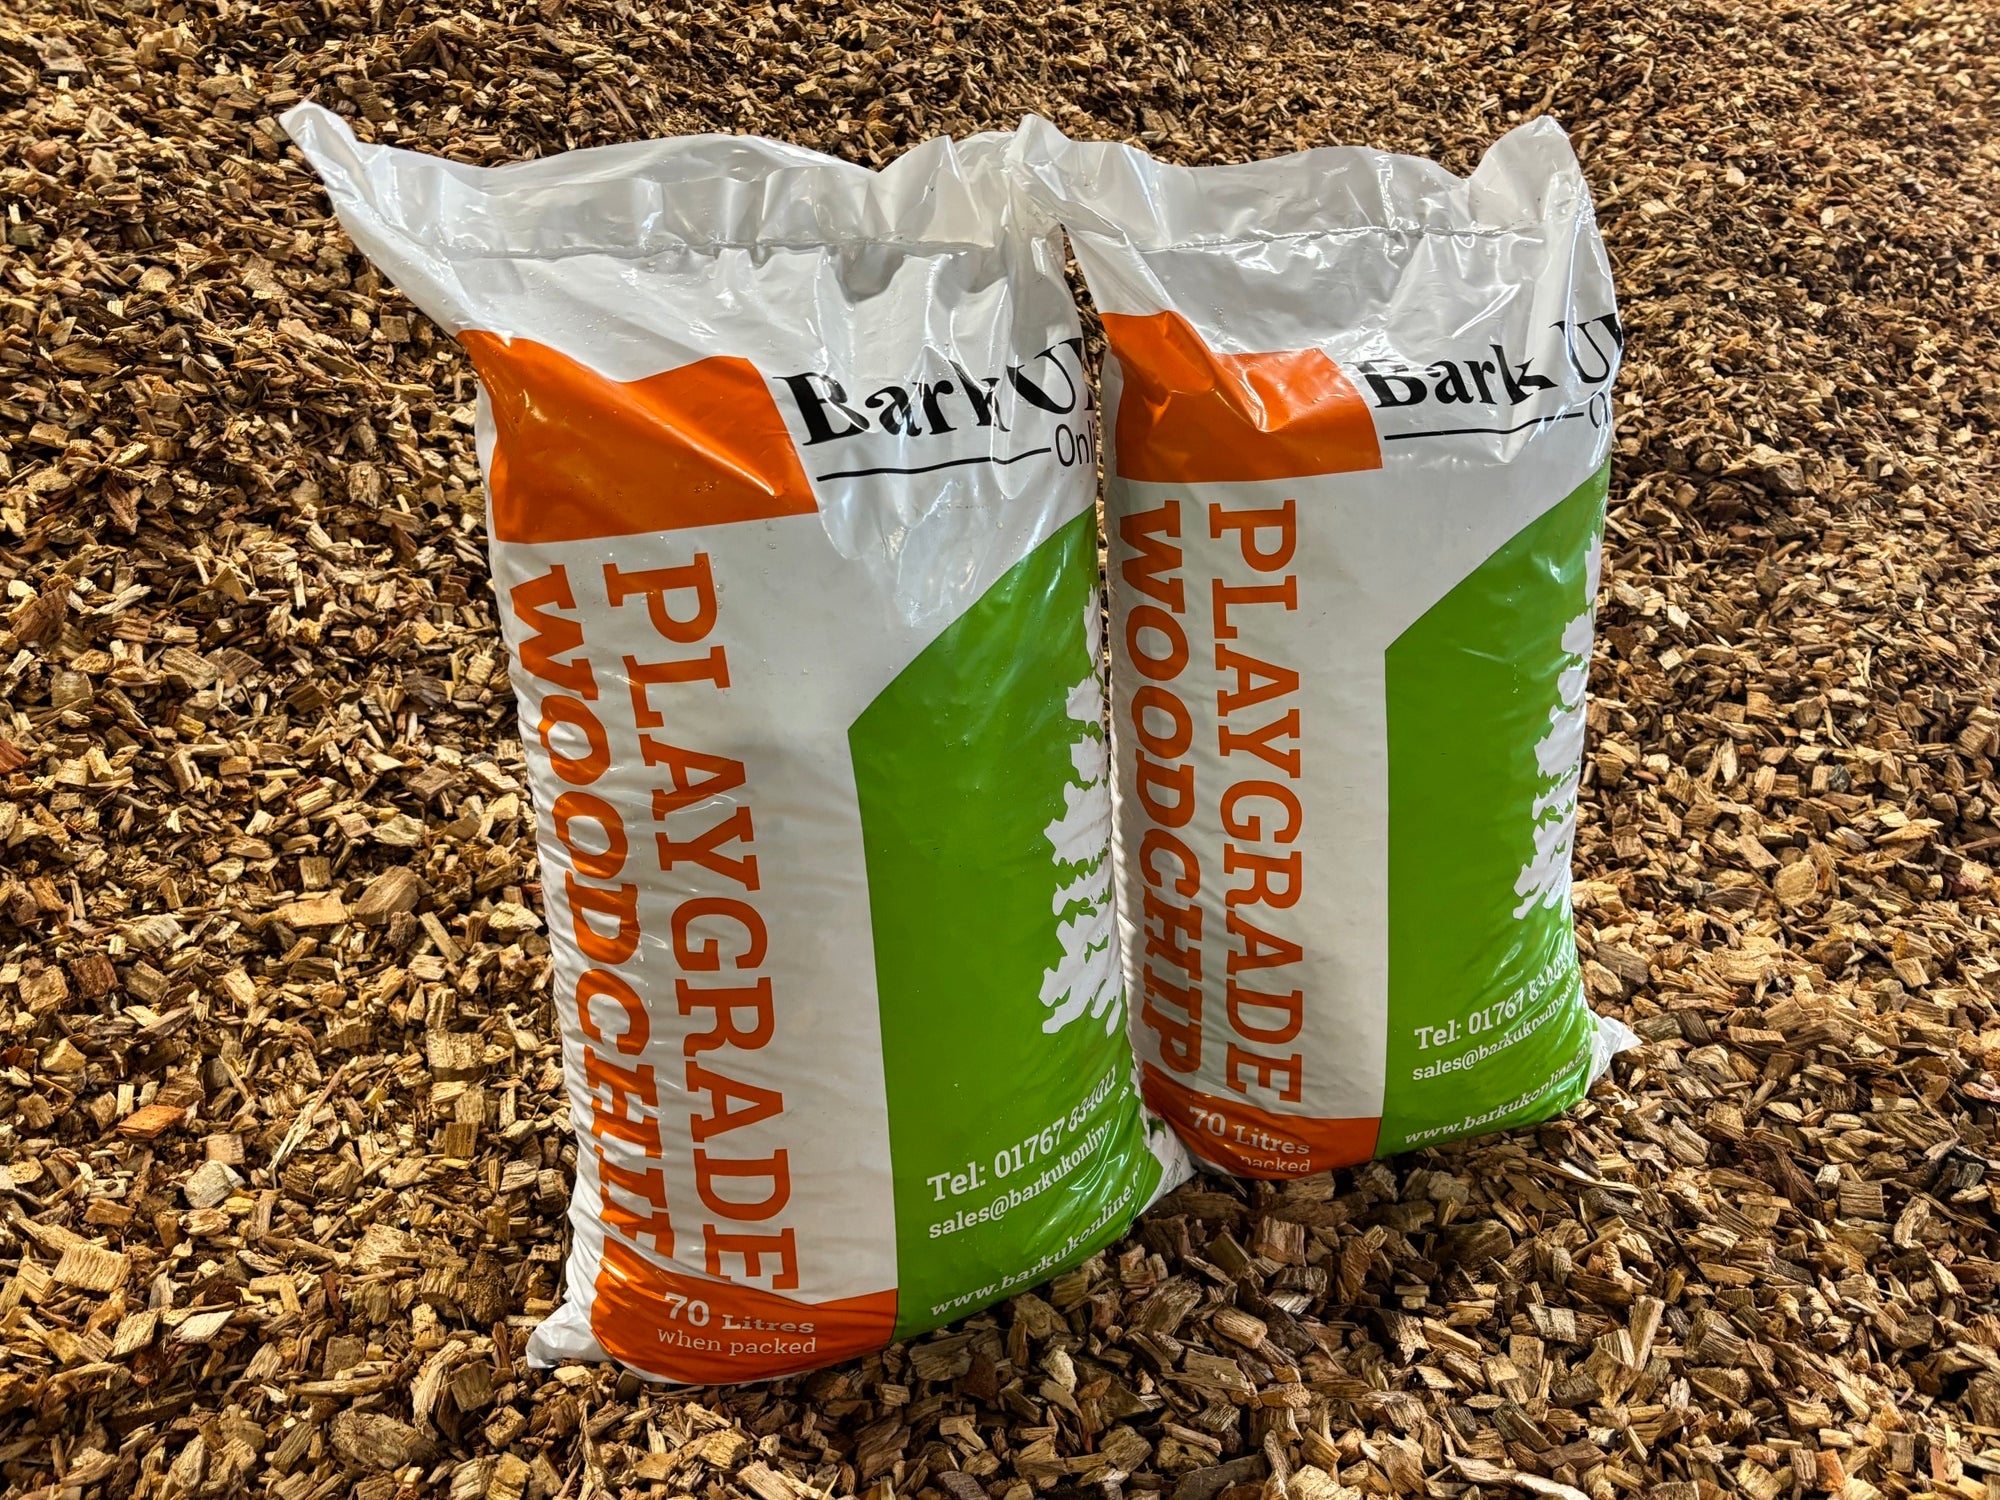
Wood chips are supplied in easy to manage 70 litre bags
<...
Supplied in large Approx.1000 litre bulk bags.
Wood ch...
Wood chips are supplied in large Approx.2000 litre bulk bags....
Budget Poultry run wood chips make an ideal floor covering for your chicke...

Poultry wood chips make an ideal floor covering for your chicken run...
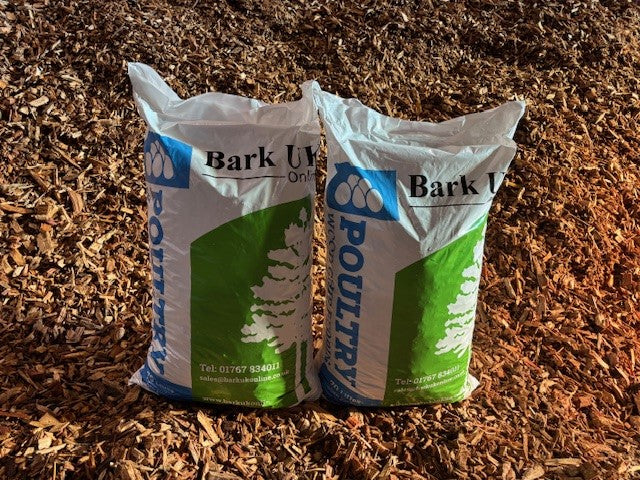
Budget Poultry wood chips make an ideal floor covering for your chic...
Budget Poultry run wood chips make an ideal floor covering for yo...
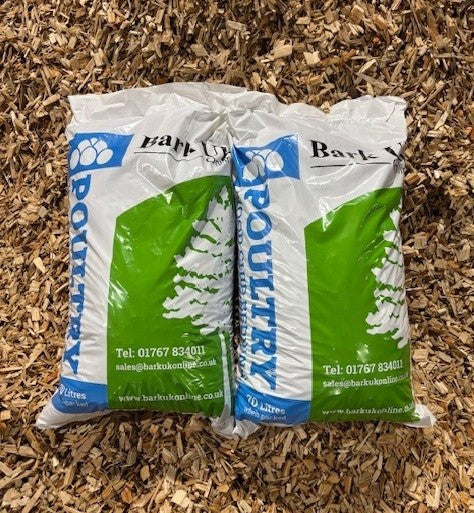
Poultry Softwood chips are supplied in easy to manage 70 litre bags.
...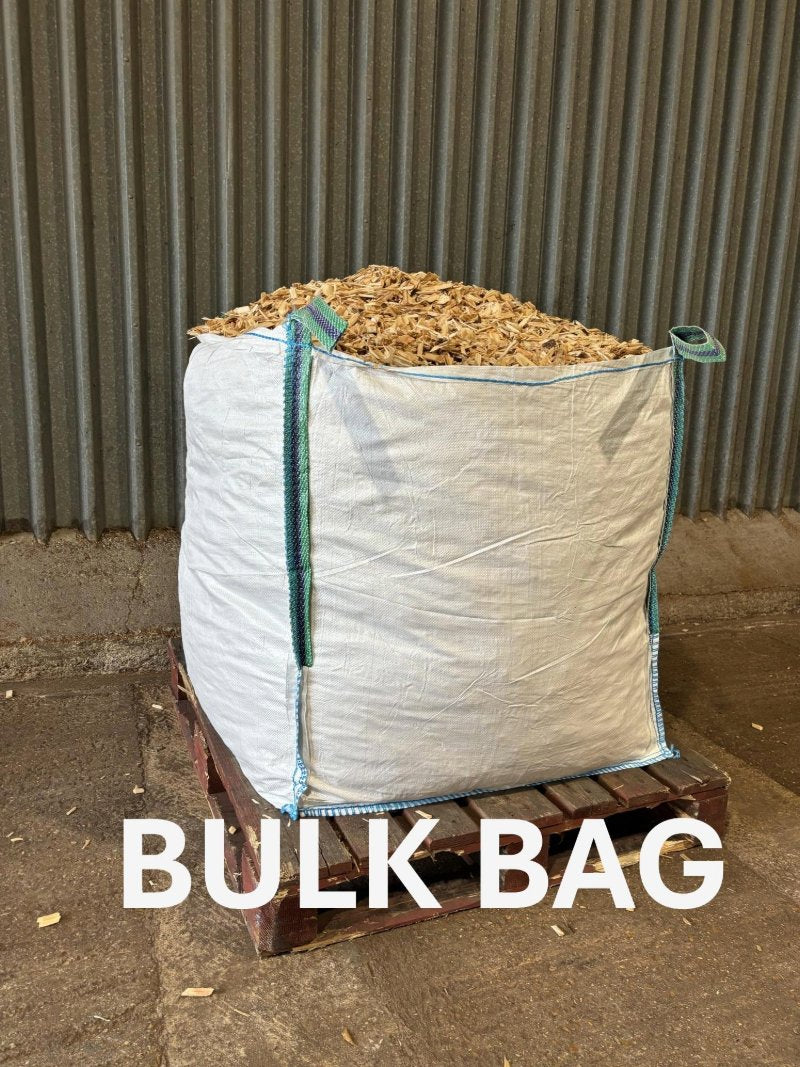
Poultry Softwood chips are supplied in large Approx.1000 litre bulk ...
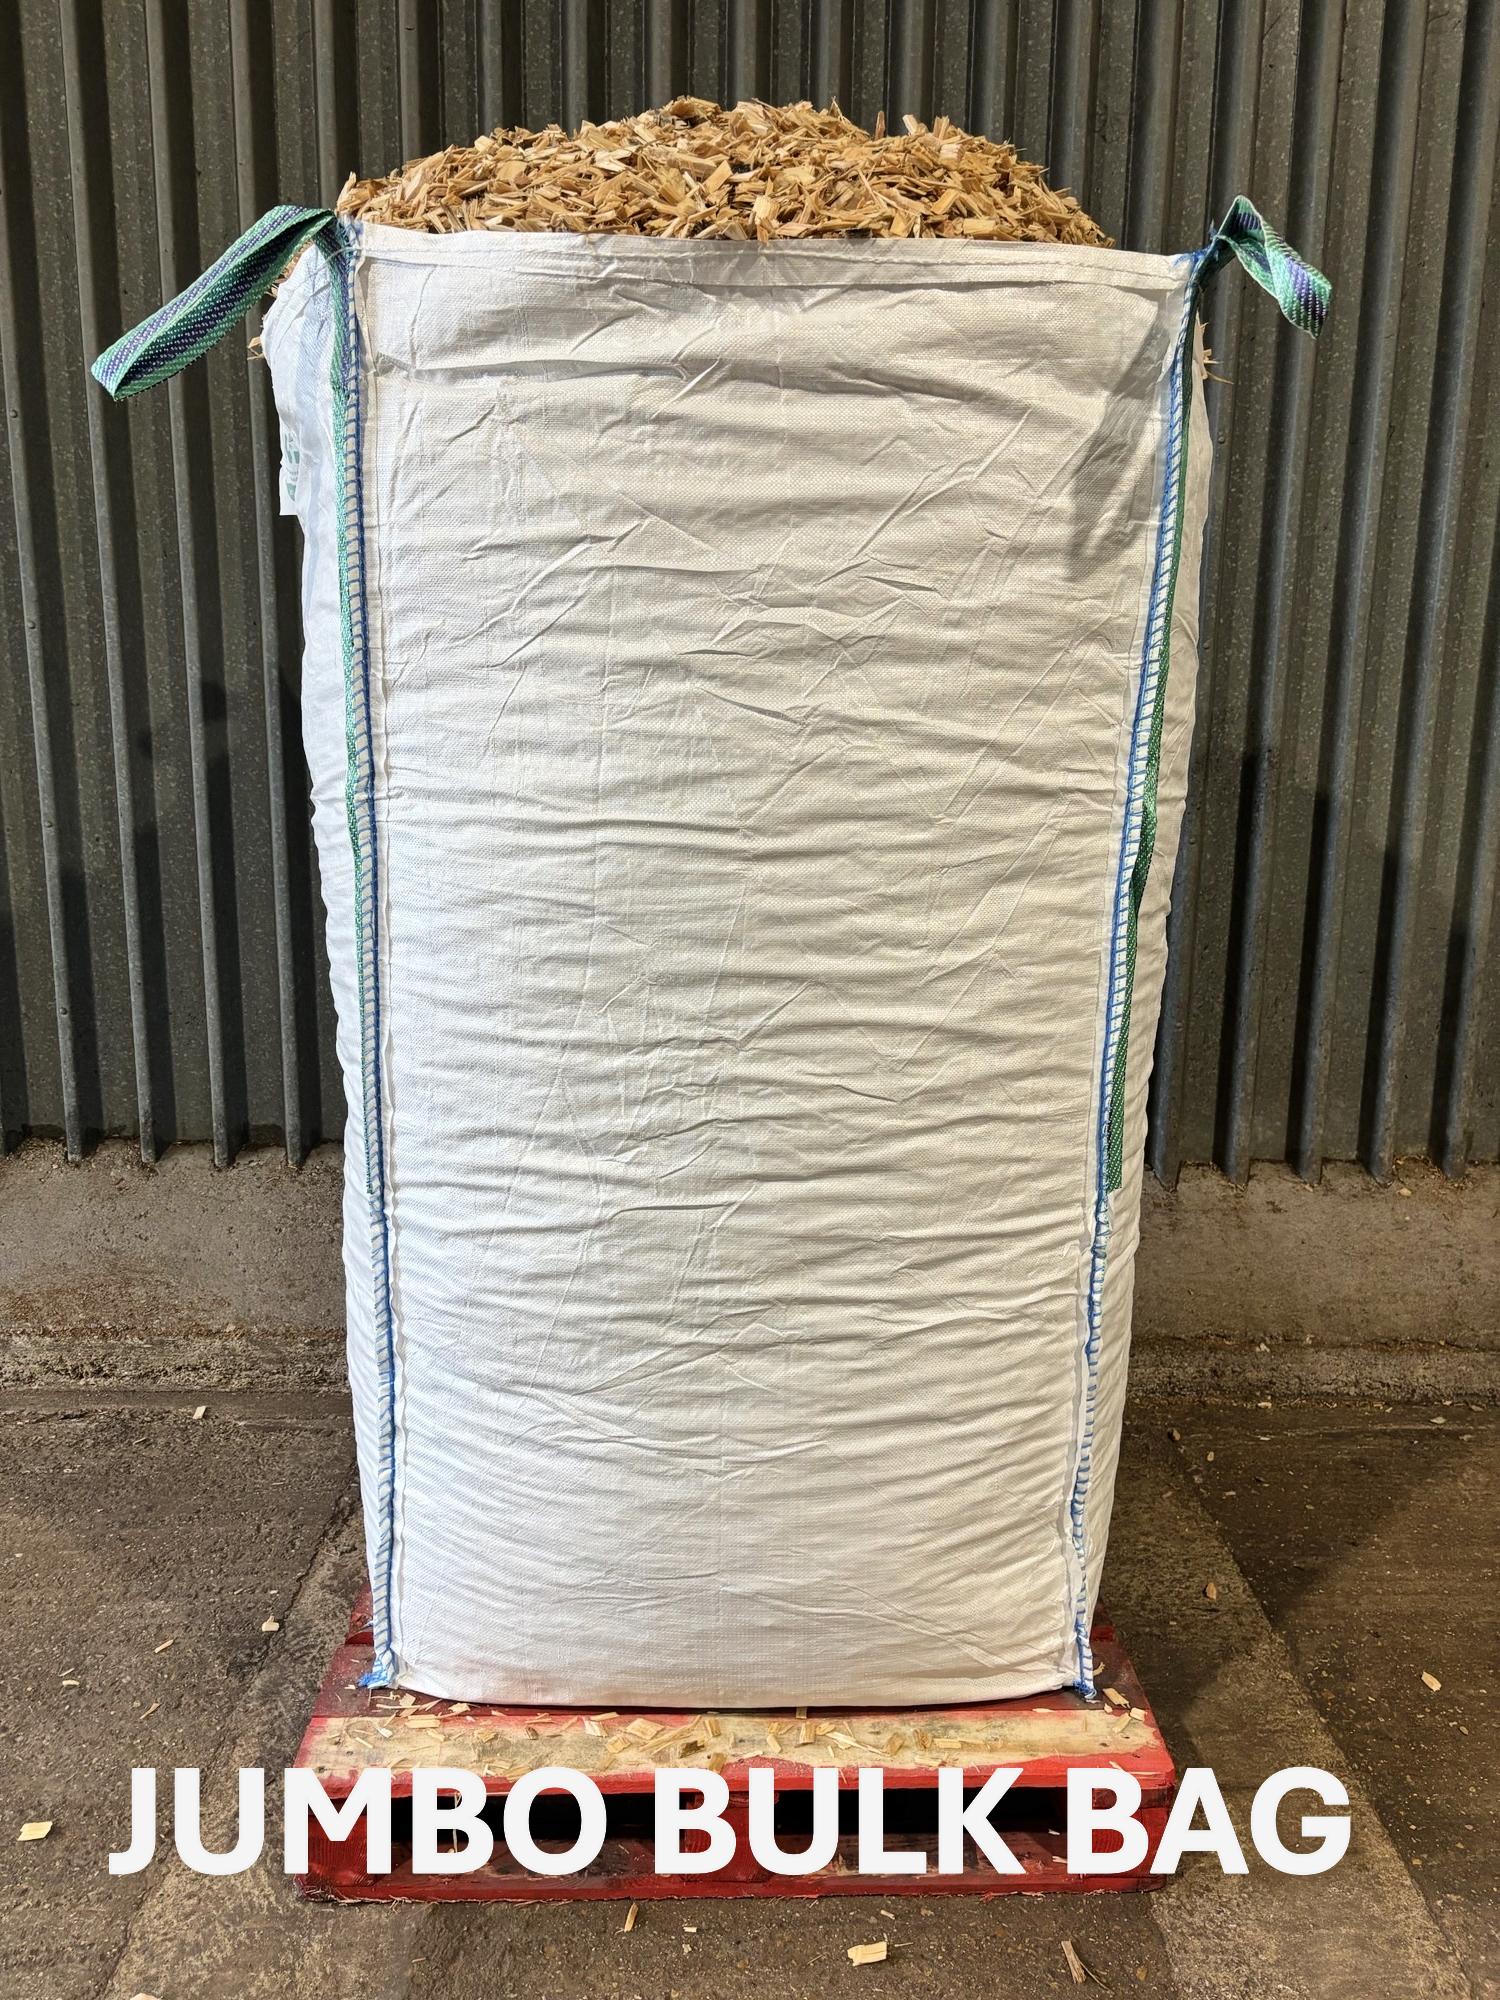
Poultry Softwood chips are supplied in large Approx.2000 litre bulk ...
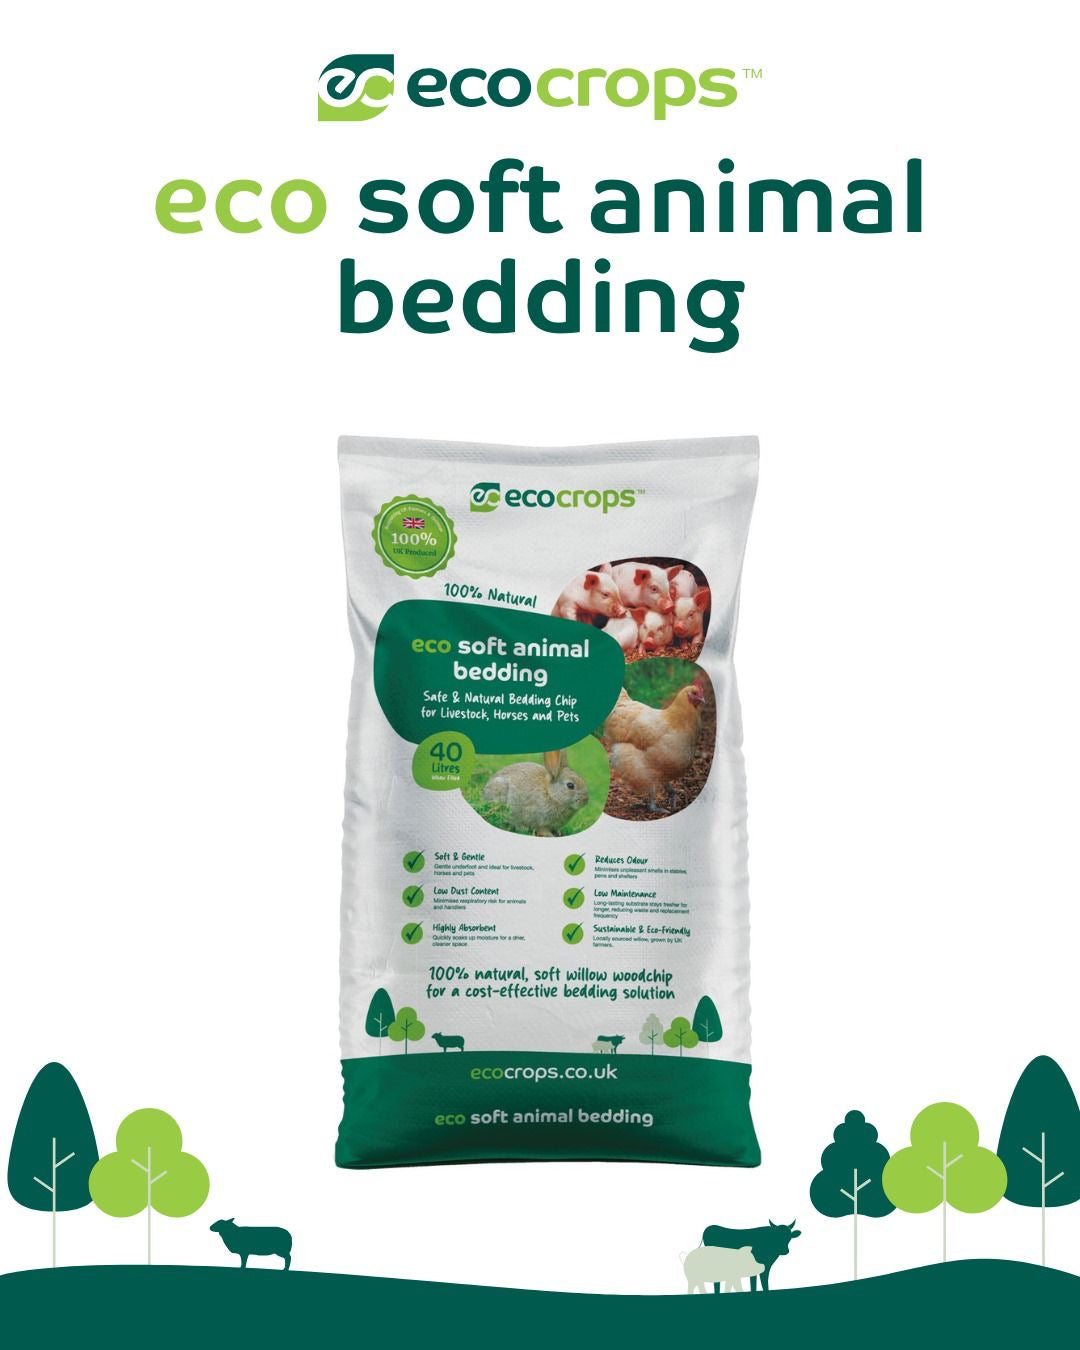
Eco Crops’ natural bedding solution is soft and are supplied in...
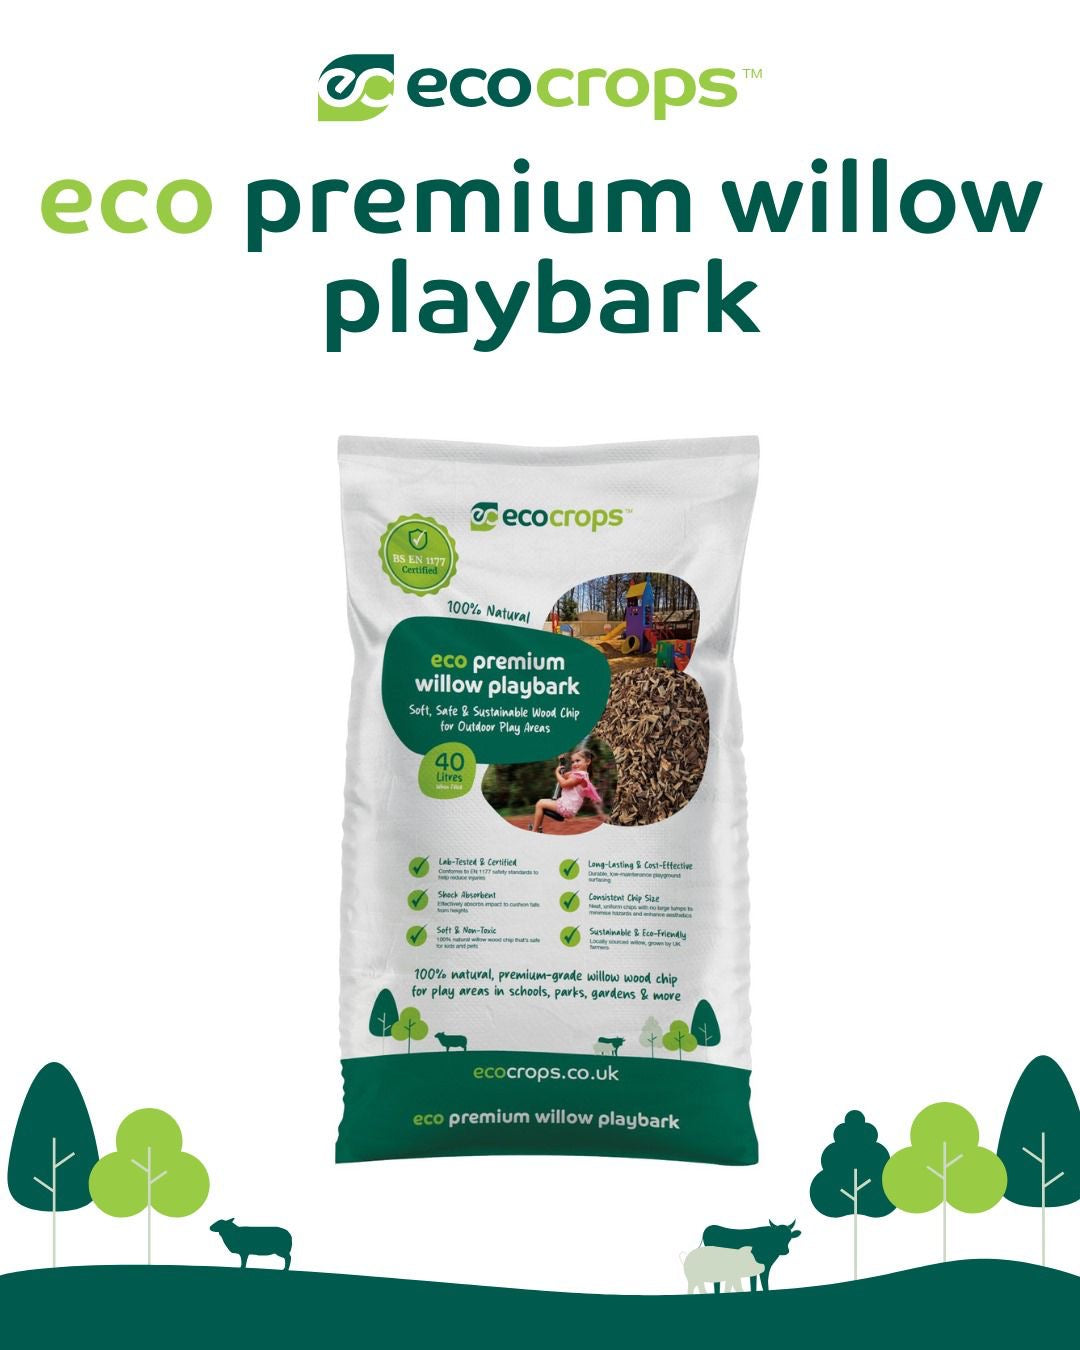
100% natural, premium-grade willow wood chip for play areas in schoo...